BIMLibrary.co
How to add windows in Revit?
Adding windows in a Revit project is a simple operation. However, getting into the advanced design phases becomes a long process, starting with window design intent, finding a window manufacturer that responds to design requirements, and finally finding window families that perfectly match the design.
In simple projects, an architect can go with generic window families and specify the window manufacturer and product model in window schedules and specifications. However, most architects want to have the exact window family specified in windows schedules in the Revit model.
Most of the time, it is a long and frustrating process given that the window model you want does not have a BIM object, revit family, modeled by the manufacturer.
Check out our post on: Window Manufacturers that provide Revit 3D Families for download
Before you start selecting windows for your project, take a look at some essential items to consider:
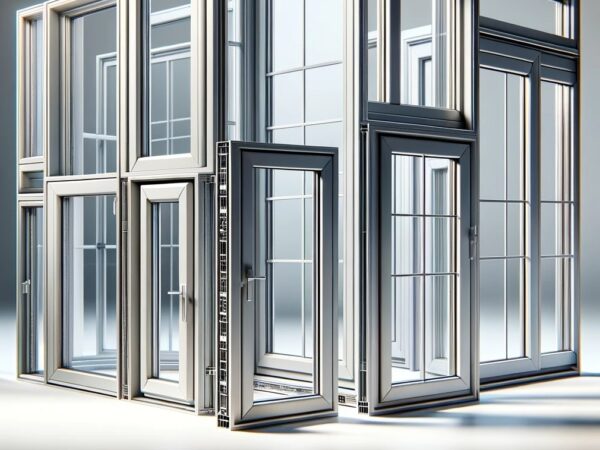
Type of windows and configurations
This is a simple list of window types primarily used in architecture projects. Check the Windows Category to download window BIM products, including Revit families.
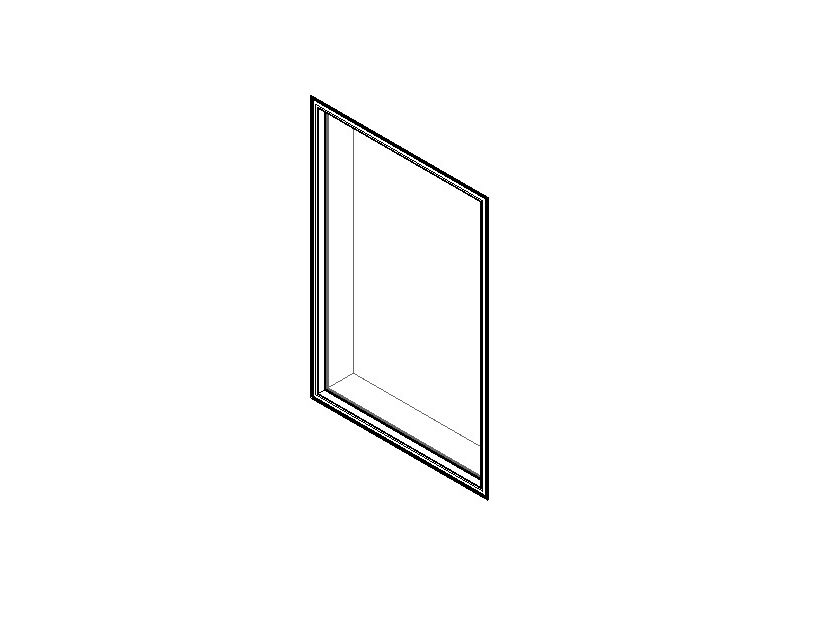
Picture Windows
Picture windows are usually fixed and can be found in different sizes. As the suggests, this window does not open and is not used for ventilation.
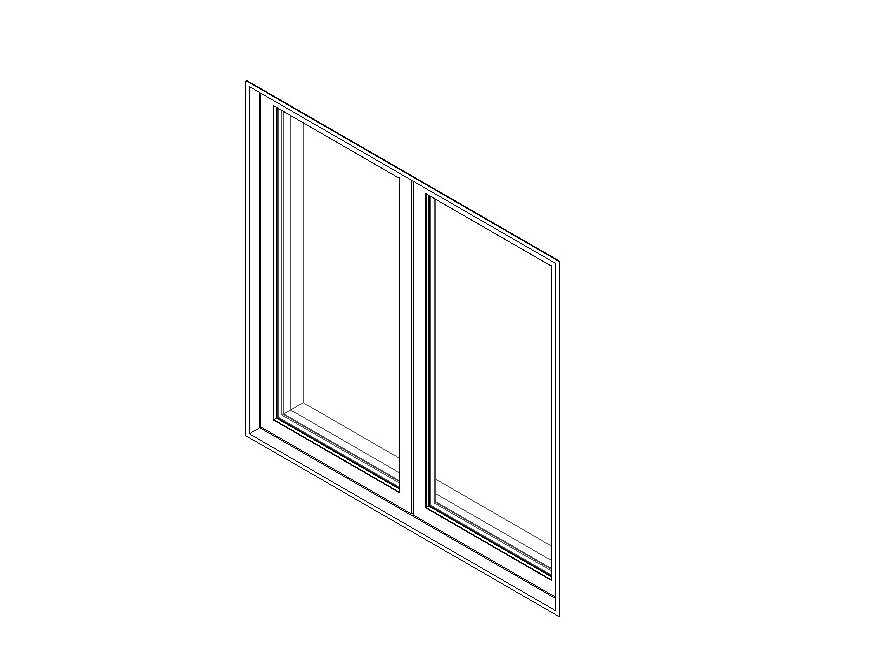
Casement Windows
A casement window has hinges on a side and swings in or out. Casement windows come in many configurations, from single to double or multiple panels.
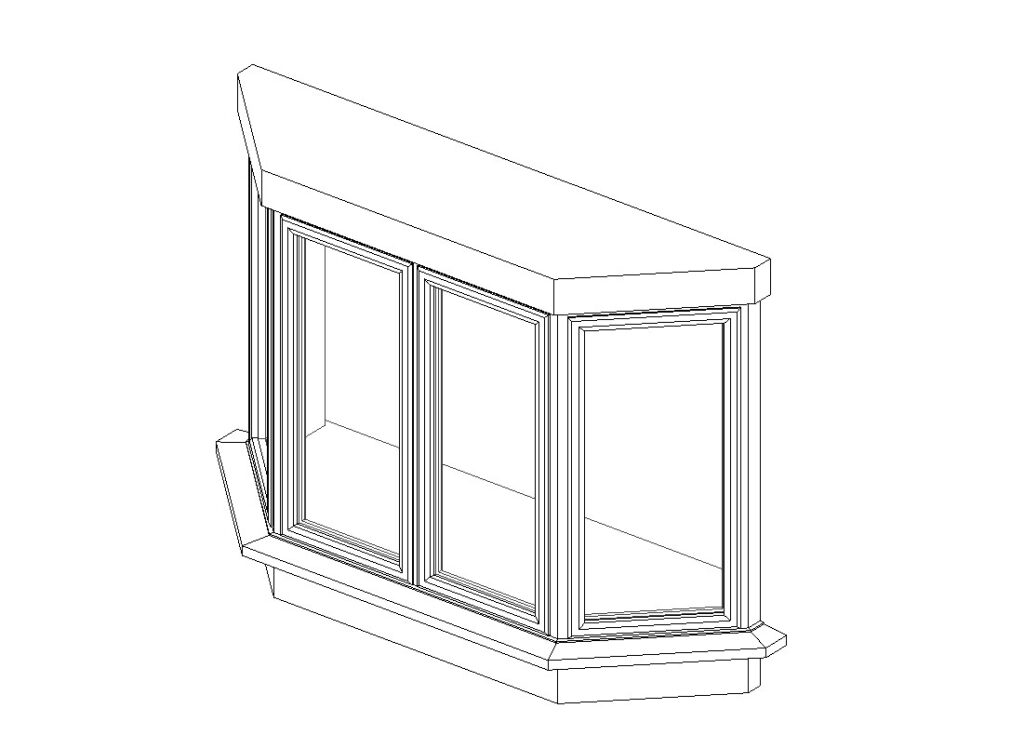
Bay Windows
A bay window is an assembly that projects out from the building wall, offering a better exterior view. There are different sizes and plan configurations, round or rectangular, but the most used are with the side panels perpendicular to the wall or angled.
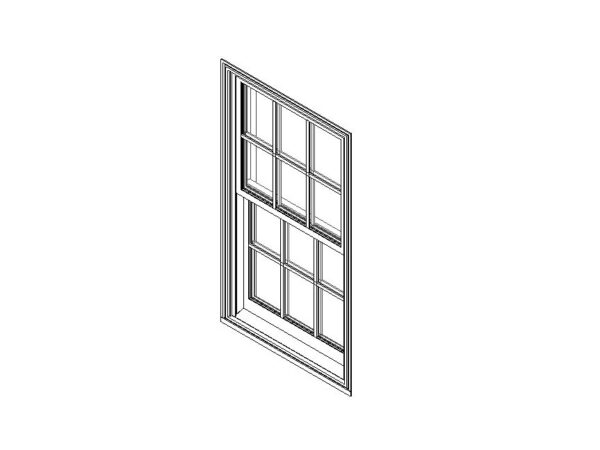
Single Hung Windows
A single-hung window, one of the most used windows in residential projects, is a type of window with two glass panels where the bottom panel slides up and the upper panel is fixed. The single-hung window is also known as a single-sash window.
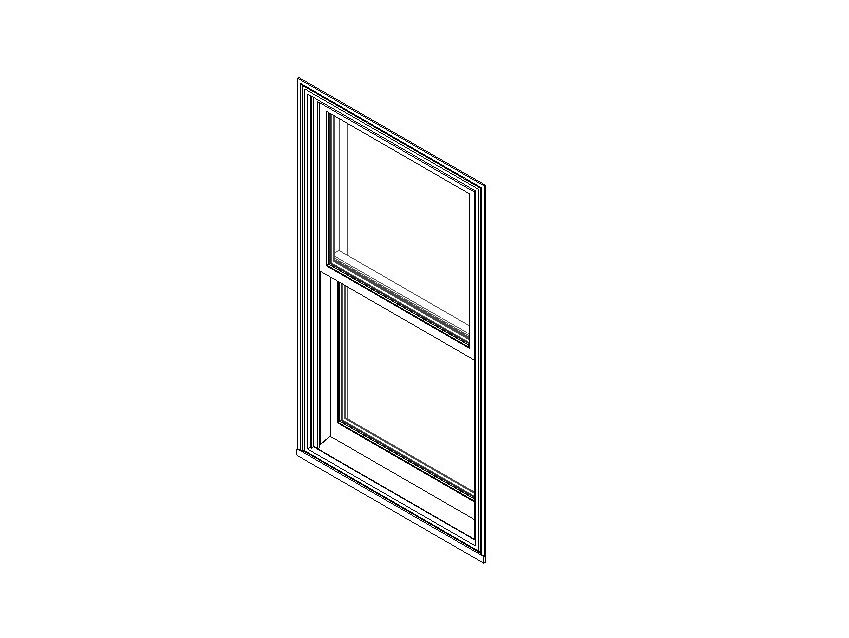
Double Hung Windows
Similar to single-hung windows, with the difference that the upper panel also slides in a down direction.
Awning Windows
An awning window is a casement window with hinges on the header that allow the window to swing out.
Hopper Window
A hopper window is similar to awning windows with the difference that the hinges are on the sill frame, allowing the window to open inward.
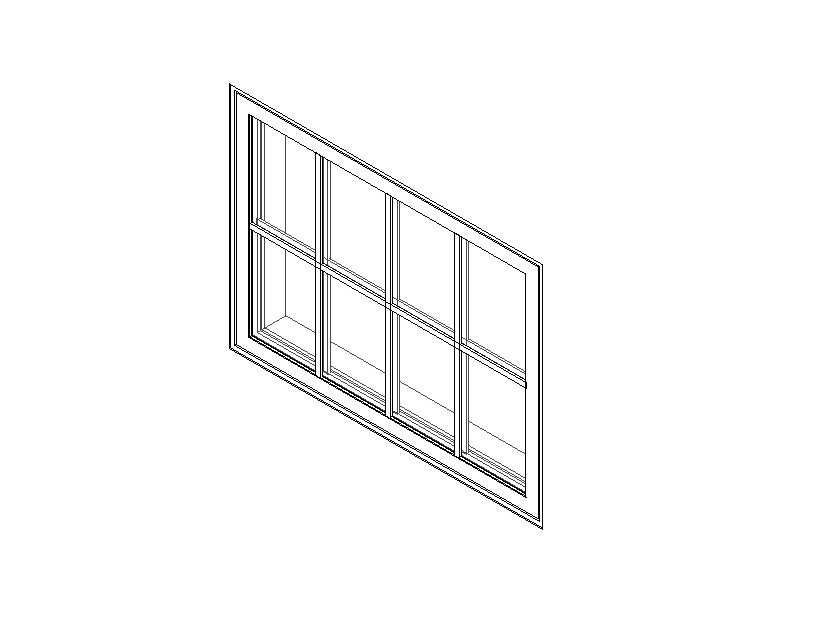
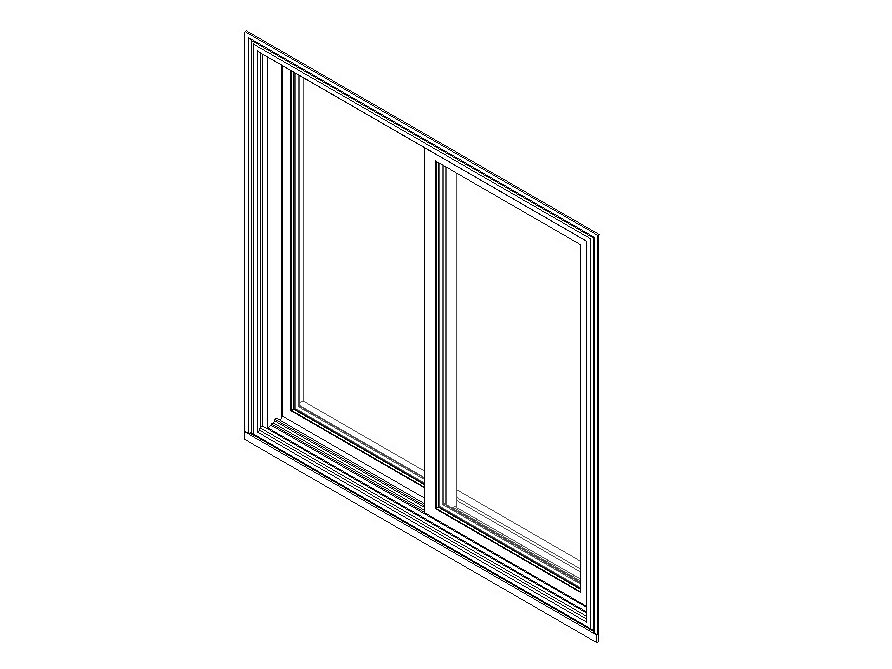
Horizontal Sliding Windows
In horizontal sliding windows or gliders, the operable panel (sashes) slides from side to side in the track channel. These windows are available for one-panel, two-panel, or three-panel sliders.
Tilt & Turn Windows
Not very common in the USA, Tilt & Turn Windows have hinge technology that allows the window to be used as an inswing casement or hopper window.
Commercial vs Residential Windows
Another essential aspect that must be considered when searching for a window to be placed in a Revit project is the commercial vs. residential applications. Even if the windows may operate and look similar, commercial-grade windows are made slightly differently and respond to various performance criteria ranging from large sizes, wind resistance, better thermal performance, durable materials, and type of glazing.
Where to search for Windows Revit families
Once you decide what type of windows you need for your project, search for a window that meets your design criteria on window manufacturer directory websites or specialized construction materials websites such as arcat.com.
Most window manufacturers provide BIM models; for example, Marvin provides a comprehensive library of BIM objects, CAD, and PDF details for all window types:
Marvin Technical Specifications
Create your own Revit window family.
Building a custom Revit window family involves several steps when you can’t find a pre-existing one. Autodesk Revit provides powerful tools for creating detailed, parametric families that can be customized to meet specific design requirements.
Use tutorial videos on YouTube:
Here is a simple step-by-step tutorial with a few good practices on creating a window Refit Family:
1. Start with a New Family
- Select the Right Template: Open Revit, go to ‘File’ > ‘New’ > ‘Family’, and choose a template that best matches your needs (e.g., ‘Window.rft’).
2. Set Up Reference Planes and Dimensions
- Create Reference Planes: Use the ‘Reference Plane’ tool to create planes that define the boundaries and centerlines of your window.
- Add Dimensions: Use the ‘Dimension’ tool to add dimensions to the reference planes. These will be used to set and control the size of your window.
3. Add Parameters
- Define Parameters: Convert dimensions into parameters (e.g., window height, width) by selecting the dimension and clicking ‘Add Parameter’. This allows you to make the window size adjustable.
4. Create the Geometry
- Draw the Window Profile: Use the ‘Extrusion’ tool to draw the profile on a reference plane. This profile defines the window’s shape.
- Set the Extrusion Depth: Adjust the extrusion depth to define the thickness of the window.
5. Add Detail Components and Materials
- Detail Components: Use the’ Component’ or’ Extrusion’ tools to add components like window sills, frames, or dividers.
- Assign Materials: Assign materials to different window parts for realistic rendering and material takeoffs.
6. Flex the Family
- Test Your Family: Adjust the parameters you’ve created to test the flexibility of the window. Ensure that the window resizes correctly and that all components behave as expected.
7. Load into Project and Modify
- Load into Project: Save the family and load it into a Revit project via ‘Load into Project’.
- Placement and Adjustment: Place the window in the project and adjust its parameters as needed for the specific application.
8. Save and Document
- Save Your Work: Save the custom family for future use.
- Documentation: Optionally, create a documentation file with details about the family, its parameters, and usage instructions for other team members.
Tips:
- Use Templates: Always start with the closest template to what you need; it makes the process easier.
- Keep It Simple: Avoid overly complex geometry unless necessary for a basic window.
- Parameter Naming: Use clear and consistent naming for parameters.
- Test Thoroughly: Test the family in different scenarios to ensure its robustness.
Creating a custom Revit window family can initially seem daunting, but it becomes a straightforward task with practice. This skill is invaluable for tailoring designs to specific project requirements.
Window Section Details in Revit
The window families can generally be used as they come in the building section drawings. The simple window family profile is not enough for large wall section details, and the architects need to use 2D components to show the exact wall and window assemblies in construction drawings.
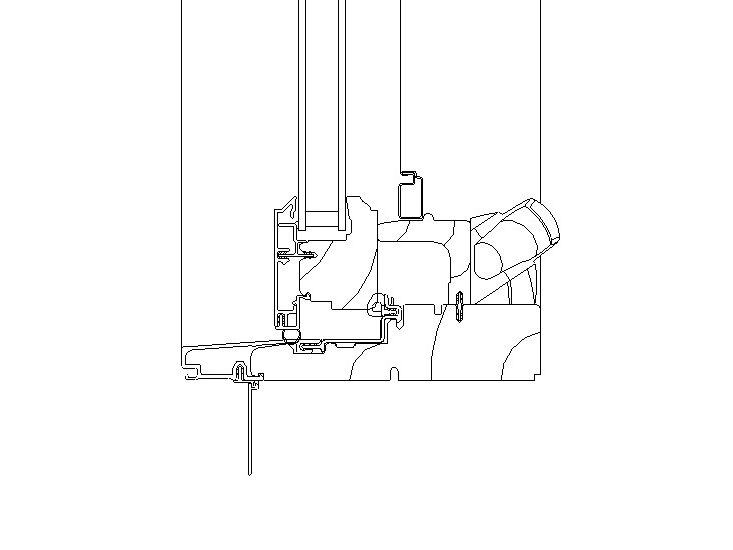
Window manufacturers provide section details through their products, but most of them are drafted in AutoCAD. For 2D drafting, the easiest way is to link the CAD details into Revit; importing and exploding is not preferable because you might end up with thousands of broken lines and unnecessary layers that are almost impossible to purge. This procedure requires preparing the CAD details by cleaning up unnecessary layers before linking them into Revit.