BIMLibrary.co
How to add a curtain wall in Revit
Before placing a curtain wall in Revit, it’s essential to understand the type of curtain wall you are dealing with. Curtain walls in a Revit project are not just aesthetic elements. They play a crucial role in separating the interior from the exterior environment and allowing the natural light to go through.
First, consider the architectural intent of the curtain wall. Is it meant to be a focal point of the building’s facade, or does it serve a more practical purpose, such as maximizing natural light? This decision will influence your choice between a standard curtain wall and a custom one.
Second, consider the curtain wall type based on the project size, low-rise or small buildings versus high-rise or large buildings.
What are the two types of curtain wall systems?
There are two types of curtain walls based on how and where the components are assembled:
Stick Curtain Wall System
The stick curtain wall system is intended primarily for low-rise buildings because it needs exterior installation access. The curtain wall is shipped in pieces that are assembled on-site.
Unitized Curtain Wall System
The unitized curtain wall is shop assembled, shipped on the construction site in large panels, and assembled with minimum exterior equipment and scaffolding.
In Revit, this difference might not influence the way of modeling. Still, it is important to know the used type in selecting the curtain wall manufacturer and mode and detailing it correctly in the drafting views, sections, and callouts.
Understand Revit Curtain Walls
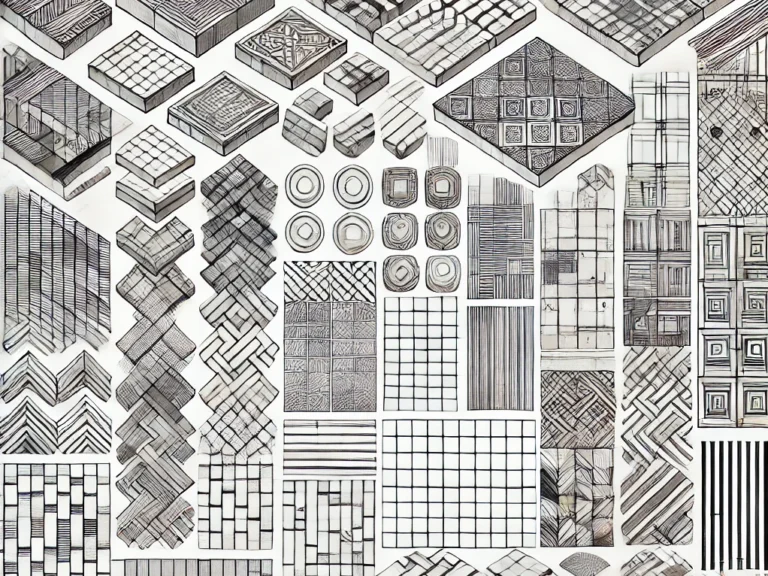
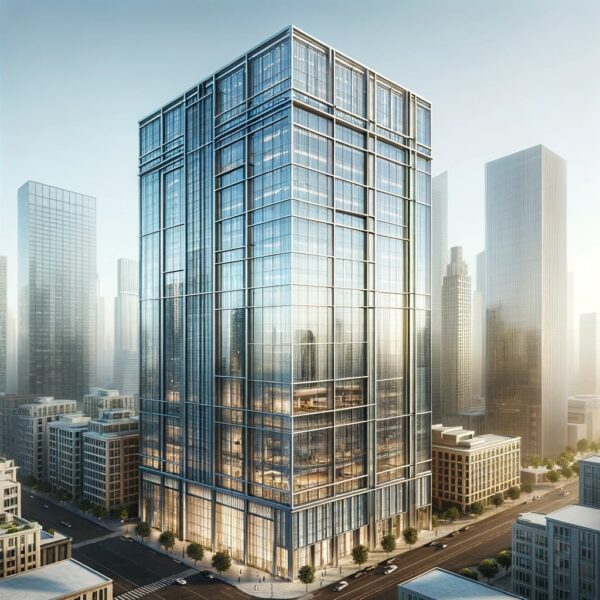
A curtain wall in Revit is a system used to create the exterior glazing or façade. It typically consists of glass panels separated by grids or mullions. Curtain walls bring in natural light and offer views without supporting structural load.
Creating Curtain Walls in Revit
- Wall Tool: You can start by using the ‘Wall’ tool in Revit, then select a curtain wall type from the wall types list.
- Sketch-Based Creation: Another way is sketching the desired shape and then using the ‘Curtain System’ tool to create a curtain wall within that shape.
How to load curtain panels in Revit?
- Access the Curtain Panel Family: Curtain panels are part of Revit’s Family system. If you don’t already have a curtain panel family loaded in your project, you’ll need to load one.
- Go to the ‘Insert’ Tab: On the Revit ribbon, click on the ‘Insert’ tab. Here, you’ll find options for adding various elements to your project.
- Load Family: Click on the ‘Load Family’ button. This opens a dialog box where you can navigate to the location of the curtain panel family files (.rfa) on your computer. Revit comes with a library of standard families, and curtain panels are typically included in this library. If you have downloaded or created custom curtain panel families, navigate to the folder where they are stored.
- Select the Curtain Panel Family: Once you find the curtain panel family file you want to use, select it and click ‘Open’. This will load the curtain panel family into your project.
- Using the Curtain Panel: To use the loaded curtain panel, go to a view where you want to place it. This could be a floor plan, section, or 3D view.
- Select a Curtain Wall or Curtain System: Before placing a curtain panel, you must have a curtain wall or a curtain system in your project. Create one using the ‘Architecture’ tab if you haven’t already.
- Replace Default Panels with Your Loaded Panel: Select the curtain grid (within the curtain wall or system) where you want to place the new panel. After selecting it, go to the ‘Type Selector’ dropdown menu in the properties palette. Here, you should find the curtain panel family you loaded. Select it to replace the default panel with your chosen panel.
- Customize as Needed: Once the panel is in place, you can customize its properties using the properties palette, adjusting parameters like dimensions, materials, and any specific family parameters that were included in the curtain panel family.