BIMLibrary.co
How to add doors to a Revit project?

Creating and adding doors in Autodesk Revit, the Building Information Modeling (BIM) software, is a vital part of the architectural design process. Revit offers a variety of tools and options to integrate doors into your building models effectively. In this post article, we’ll explore adding doors in Revit, including door types, the distinction between commercial and residential doors, where to find door families, and how to create your own door family.
Door Types
The doors can be classified in many ways, ranging from door materials, fire rating, style, location, etc. Since these are design options, I will focus only on door classification by operation and door construction.
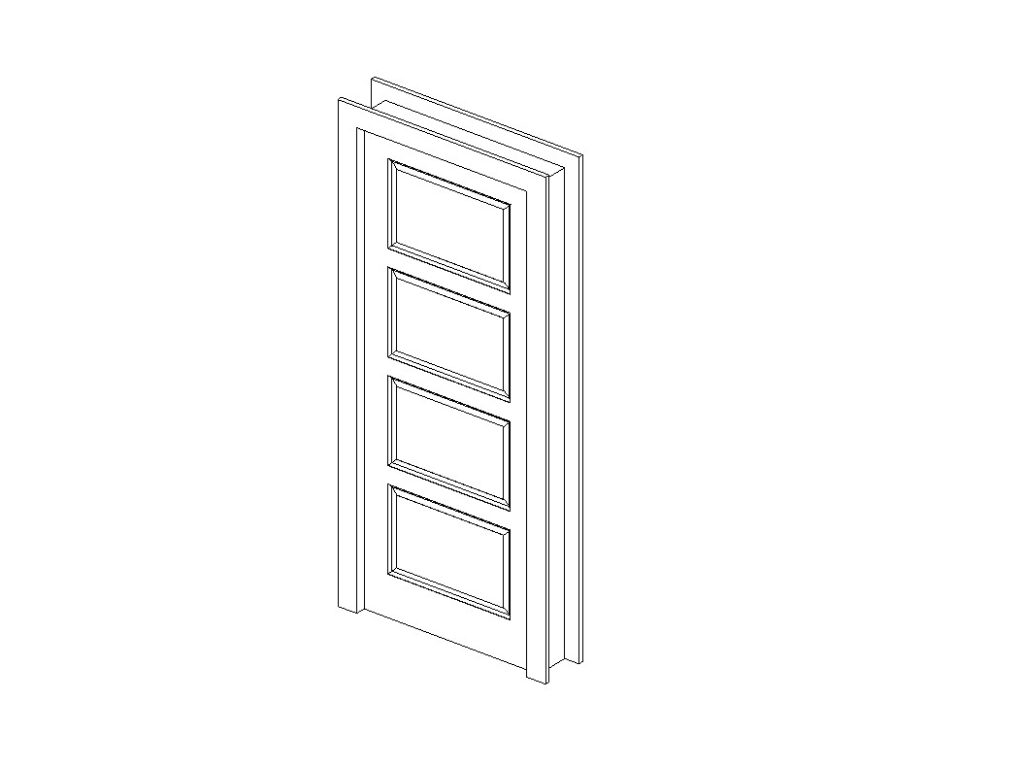
Swinging Doors
Obviously, the most used type of door is the swing door. Swing doors are standard and versatile in residential and commercial settings. Their defining feature is how they open – by swinging on hinges.
Single Door
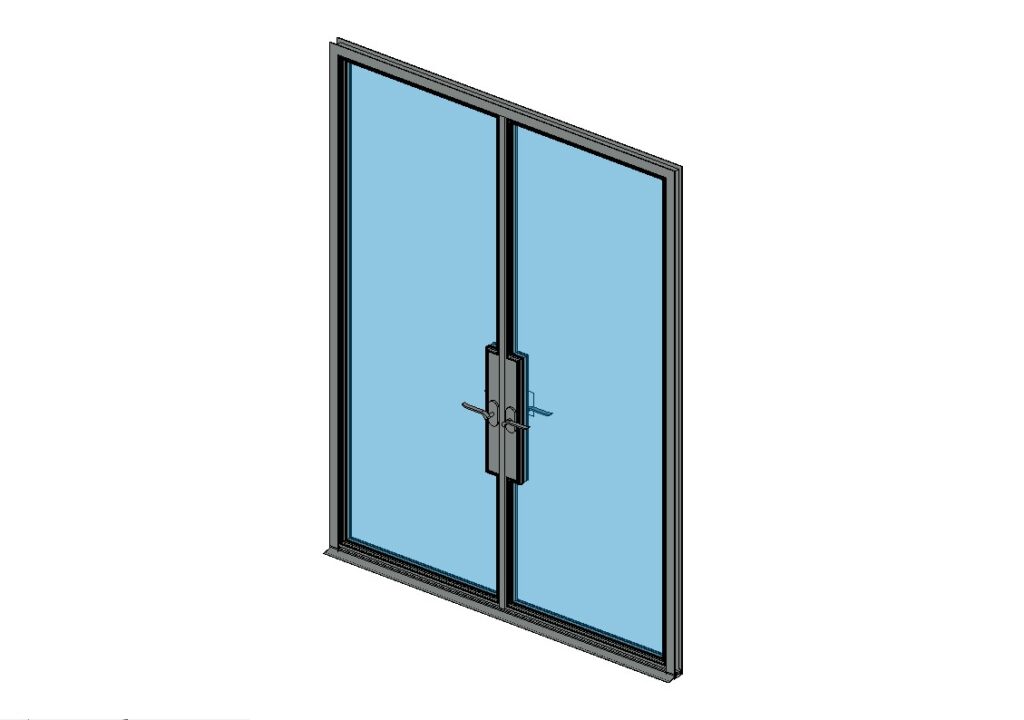
Double Door
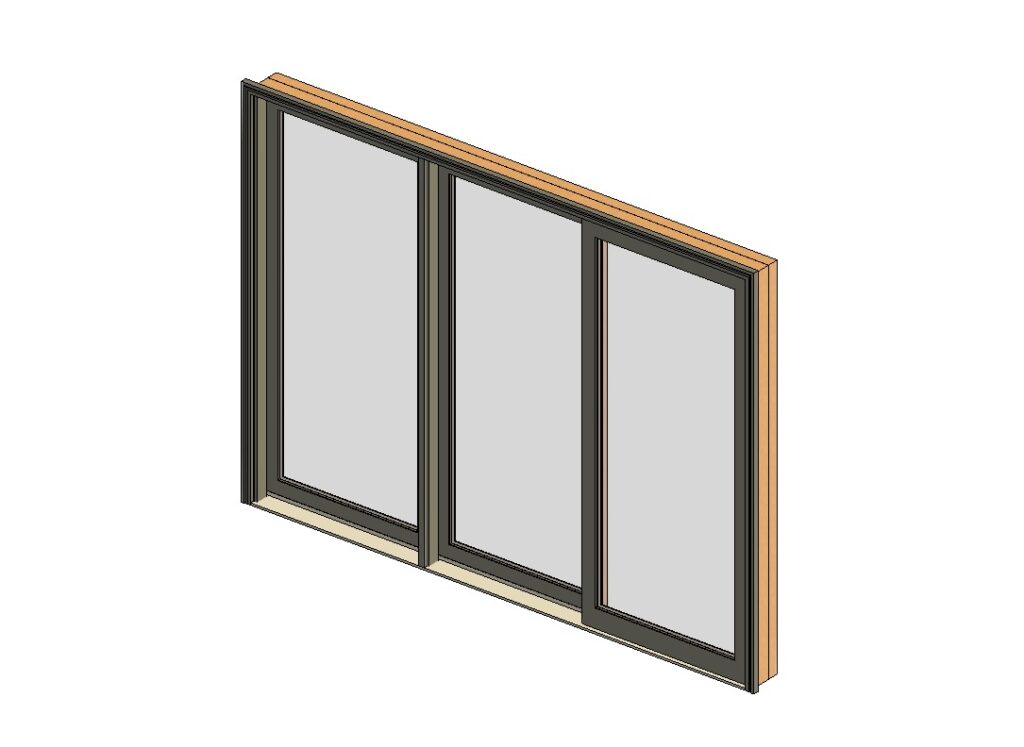
Sliding Doors
Sliding doors are typically provided with panels that move horizontally on tracks. They often feature one stationary panel and one mobile panel that slides open and closed, but there are multiple configurations, including double sliding doors.
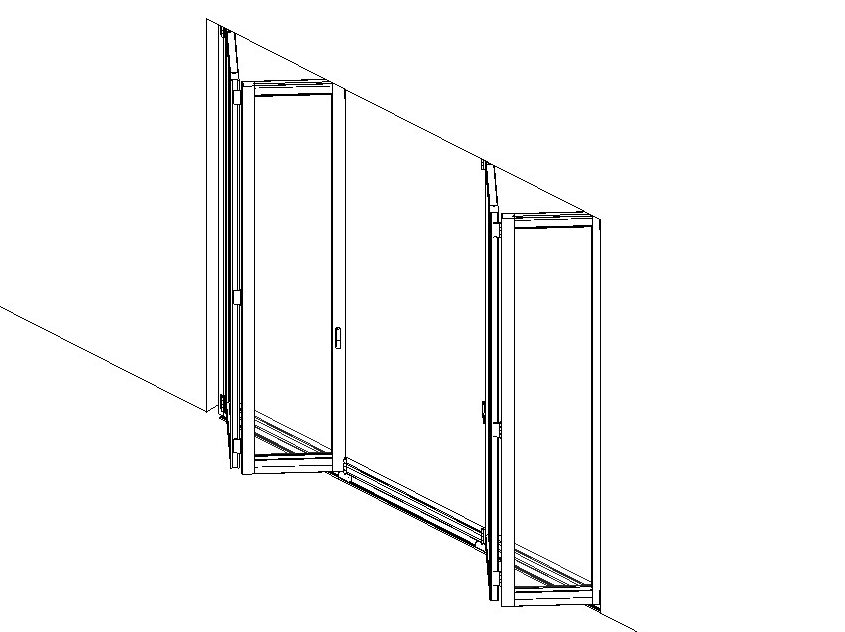
Folding Doors
Folding doors, also known as bi-fold doors, are door systems that open by folding in sections. The door panels have hinges or pivots; most folding doors use tracks to control the panel’s swings.
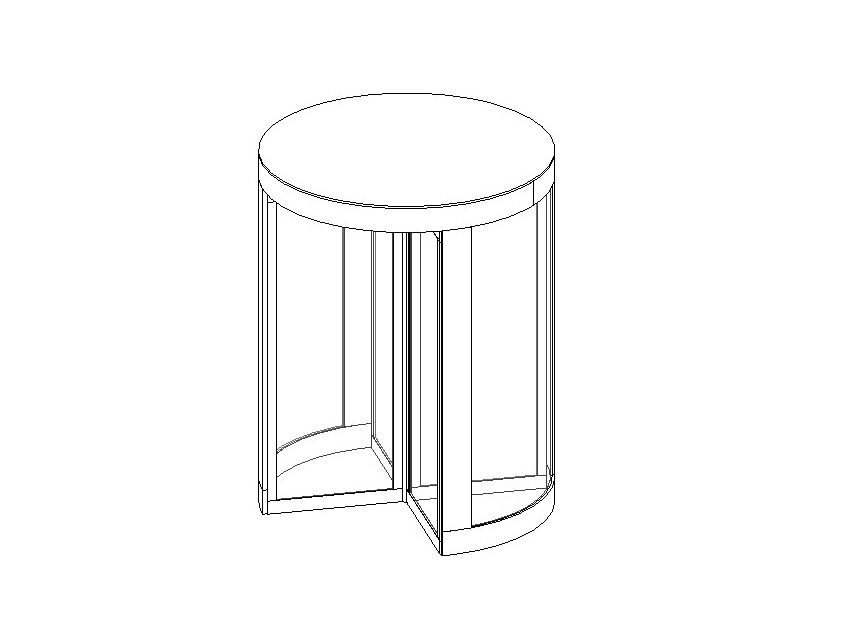
Revolving Doors
Revolving doors are a distinctive type of entryway commonly used in commercial buildings such as hotels, large offices, and public buildings. They consist of several wings or leaves that rotate around a central shaft, providing a continuous entrance and exit path. They can be operated manually or automatically by an electric motor.
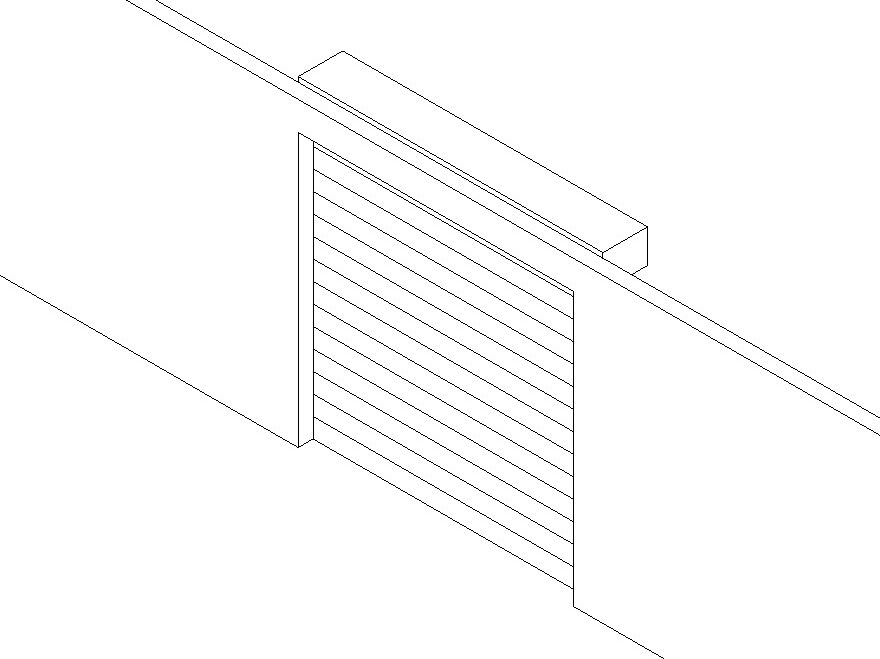
Rolling Steel Shutter Doors
Rolling steel shutter doors, also known as roller shutters, are a type of door commonly used in commercial and industrial settings. These doors consist of interlocking slats that roll up around a drum. The drum is usually mounted above the door opening, and the slats unroll downwards to close the opening.
Commercial vs Residential Doors
Before searching for Revit door families, it is important to define the type of doors suitable for your project, whether commercial or residential-grade.
Commercial Doors: Focus on durability, security, fire rating, size, and compliance with stringent building codes.
Residential Doors: Emphasize aesthetics, variety, and home design integration while maintaining essential security and functionality.
Where to search for doors for Revit projects
To find door families for Revit projects, you have several options for sourcing high-quality BIM (Building Information Modeling) content. Here are some recommended resources:
Websites specialized in Revit family downloads, such as:
RevitCity: This is a popular community-driven site where Revit users share and download BIM families, including a wide variety of doors.
BIMobject, Arcat, Archispace, or BIMLibrary.co: Known for its extensive library of BIM content, BIMobject offers a range of door models from various manufacturers. You can download these models in Revit format.
Manufacturer Websites: Many door manufacturers provide Revit families of their products. These can be highly accurate and specific, reflecting their real-world counterparts.
Remember, when downloading and using third-party BIM content, it’s essential to check for compatibility with your version of Revit and ensure that the models meet the standards and requirements of your specific project.
Create your own Revit door family
If an architect or drafter can’t find a door family that matches the design requirements, they can build it directly in Revit.
Creating your own Revit door family involves several steps in Autodesk Revit, a complex but powerful Here’s a simplified overview of the process:
- Start a New Family:
- Open Autodesk Revit.
- Go to the ‘File’ menu, select ‘New,’ and then choose ‘Family.’
- Choose the appropriate template. For doors, select something like “Door.rft” under the templates provided by Revit.
- Set Up Reference Planes and Parameters:
- Use reference planes to define the door boundaries and swings. These are critical for setting the door size and location.
- Create and name parameters (like door width, height, and thickness) that will control these aspects of the door. Parameters can be instance or type-based depending on whether they need to vary for each instance of the door or stay constant across all instances.
- Create the Door Geometry:
- Use Revit tools like ‘Extrude’, ‘Sweep’, or ‘Blend’ to create the 3D geometry of the door.
- Apply these tools to the reference planes and use the parameters you set up to define their dimensions.
- Add Detail Components and Symbolic Lines:
- Add detail components and symbolic lines for 2D representation (when the door is viewed in plan or elevation).
- These details are crucial for making the door understandable in different views.
- Set Up Visibility Settings:
- Control which parts of the door are visible in different views (plan, elevation, 3D) using visibility settings.
- Add Materials:
- Assign materials to different door parts for realistic rendering and material schedules.
- Load into Project and Test:
- Load the door family into a Revit project to test its functionality.
- Place the door on a wall and check its behavior in different views and with different parameter settings.
- Make Adjustments:
- Based on your testing, return to the family editor to adjust or add functionality as needed.
- Save and Distribute:
- Once satisfied, save the family for future use and share it as needed.
Use video tutorials for modeling doors in Revit
Search for video tutorials on how to build a door family in Revit. See below an example:
Creating a drafting view for a door section detail
Create a drafting view to provide details that are not part of the building model. Use the detailing tools on the Annotate tab to sketch the details.
Steps to Create a Drafting View for Door Section Detail in Revit
- Start a New Drafting View:
- Go to the ‘View’ tab on the Ribbon.
- In the ‘Create’ panel, select ‘Drafting View’.
- Enter a name for the view, like “Door Section Detail,” and set the appropriate scale.
- Create the Section Outline:
- Use the ‘Line’ tool or other drawing tools to create the outline of the door section. This involves drawing the door, frame, wall, and any other relevant components.
- Pay attention to the scale and dimensions to ensure accuracy.
- Add Detail Components:
- Use ‘Detail Components’ to add more detailed elements like hardware, seals, and specific construction details.
- These components can be found under the ‘Annotate’ tab.
- Label Materials and Components:
- Use ‘Text’ and ‘Dimension’ tools to label different parts of the door section and to indicate dimensions and materials.
- It’s important to provide enough information for clear understanding and accurate construction or installation.
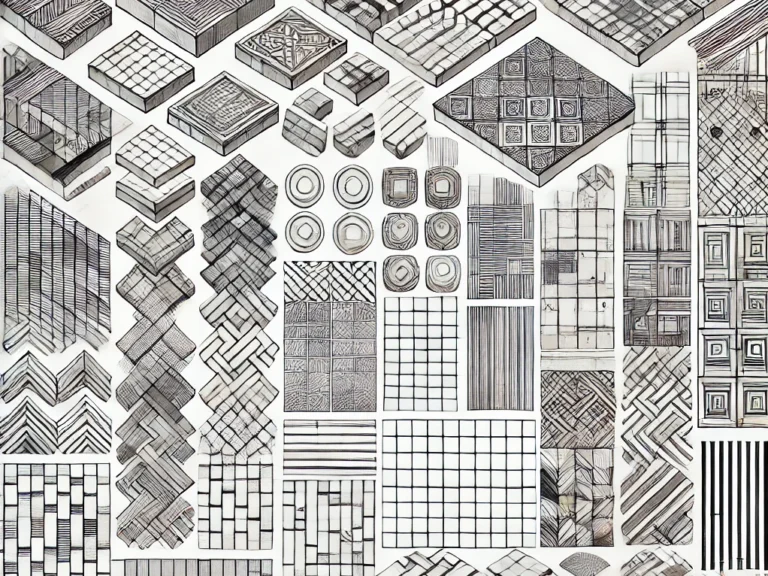
- Apply Hatching and Fill Patterns:
- Apply different hatching or fill patterns to represent various materials or components. For example, use a specific hatch pattern for glass, wood, or insulation.
- Reference Other Views:
- If necessary, reference other views or details in the project using ‘Callouts’ or ‘Detail References’.
- Review and Adjust:
- Examine the draft view for clarity, accuracy, and completeness. Make any necessary adjustments.
- Save and Use in Sheets:
- Once the drafting view is complete, it can be placed onto sheets for printing or included in the construction documentation set.
How to Create a Drafting View for Door Section Details in Revit
Drafting views are used to create detailed drawings that aren’t necessarily tied to the 3D model or cannot be generated automatically from the Revit model but are essential for conveying construction or fabrication details.
Here’s a guide to creating a door section detail drafting view in Revit:
- Start a New Drafting View:
- Go to the ‘View’ tab on the Ribbon.
- In the ‘Create’ panel, select ‘Drafting View’.
- Enter a name for the view, like “Door Section Detail,” and set the appropriate scale.
- Create the Section Outline:
- Use the ‘Line’ tool or other drawing tools to create the outline of the door section. This involves drawing the door, frame, wall, and any other relevant components.
- Pay attention to the scale and dimensions to ensure accuracy.
- Add Detail Components:
- Use ‘Detail Components’ to add more detailed elements like hardware, seals, and specific construction details.
- These components can be found under the ‘Annotate’ tab.
- Label Materials and Components:
- Use ‘Text’ and ‘Dimension’ tools to label different parts of the door section and to indicate dimensions and materials.
- It’s important to provide enough information for a clear understanding and accurate construction or installation.
- Apply Hatching and Fill Patterns:
- Apply different hatching or fill patterns to represent various materials or components. For example, use a specific hatch pattern for glass, wood, or insulation.
- Reference Other Views:
- If necessary, reference other views or details in the project using ‘Callouts’ or ‘Detail References’.
- Review and Adjust:
- Examine the draft view for clarity, accuracy, and completeness. Make any necessary adjustments.
- Save and Use in Sheets:
- Once the drafting view is complete, it can be placed onto sheets for printing or included in the construction documentation set.